Real Estate and *stuff *
A real person helping real people with real estate
You can scroll the shelf using ← and → keys
You can scroll the shelf using ← and → keys
It is the weekend and there are only a few more prime open house days left….why not make the most of it! This weekend, my open houses will include a special visitor, Barry Little from Omega Mortgage Corporation (www.massloaninfo.com).
Barry will be on-site to speak with our attendees about the mortgage process and has offered to do free pre-qualifications for people who are not already pre-qualified.
Stop in…chat about your home search and find out what’s new in the mortgage world while checking-out our great homes for sale. Have you heard of USDA 100%? I hadn’t either until today and Sunday’s open house at 298 New Boston Road in Sturbridge qualifies!
Saturday: Noon to 2pm 26-2 Maple Street in Auburn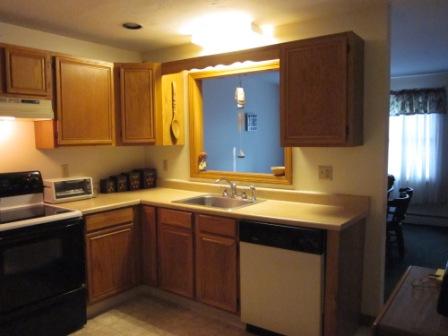 This is SPACE! This townhouse is a colonial in disguise! Three floors of living with three bedrooms and a possible fourth bedroom in the basement. Well taken care of with low HOA fees. Extremely commuter friendly location yet PRIVATE and QUIET. Seriously…you’ll be surprised!
Sunday: Noon to 2pm 298 New Boston Road Sturbridge
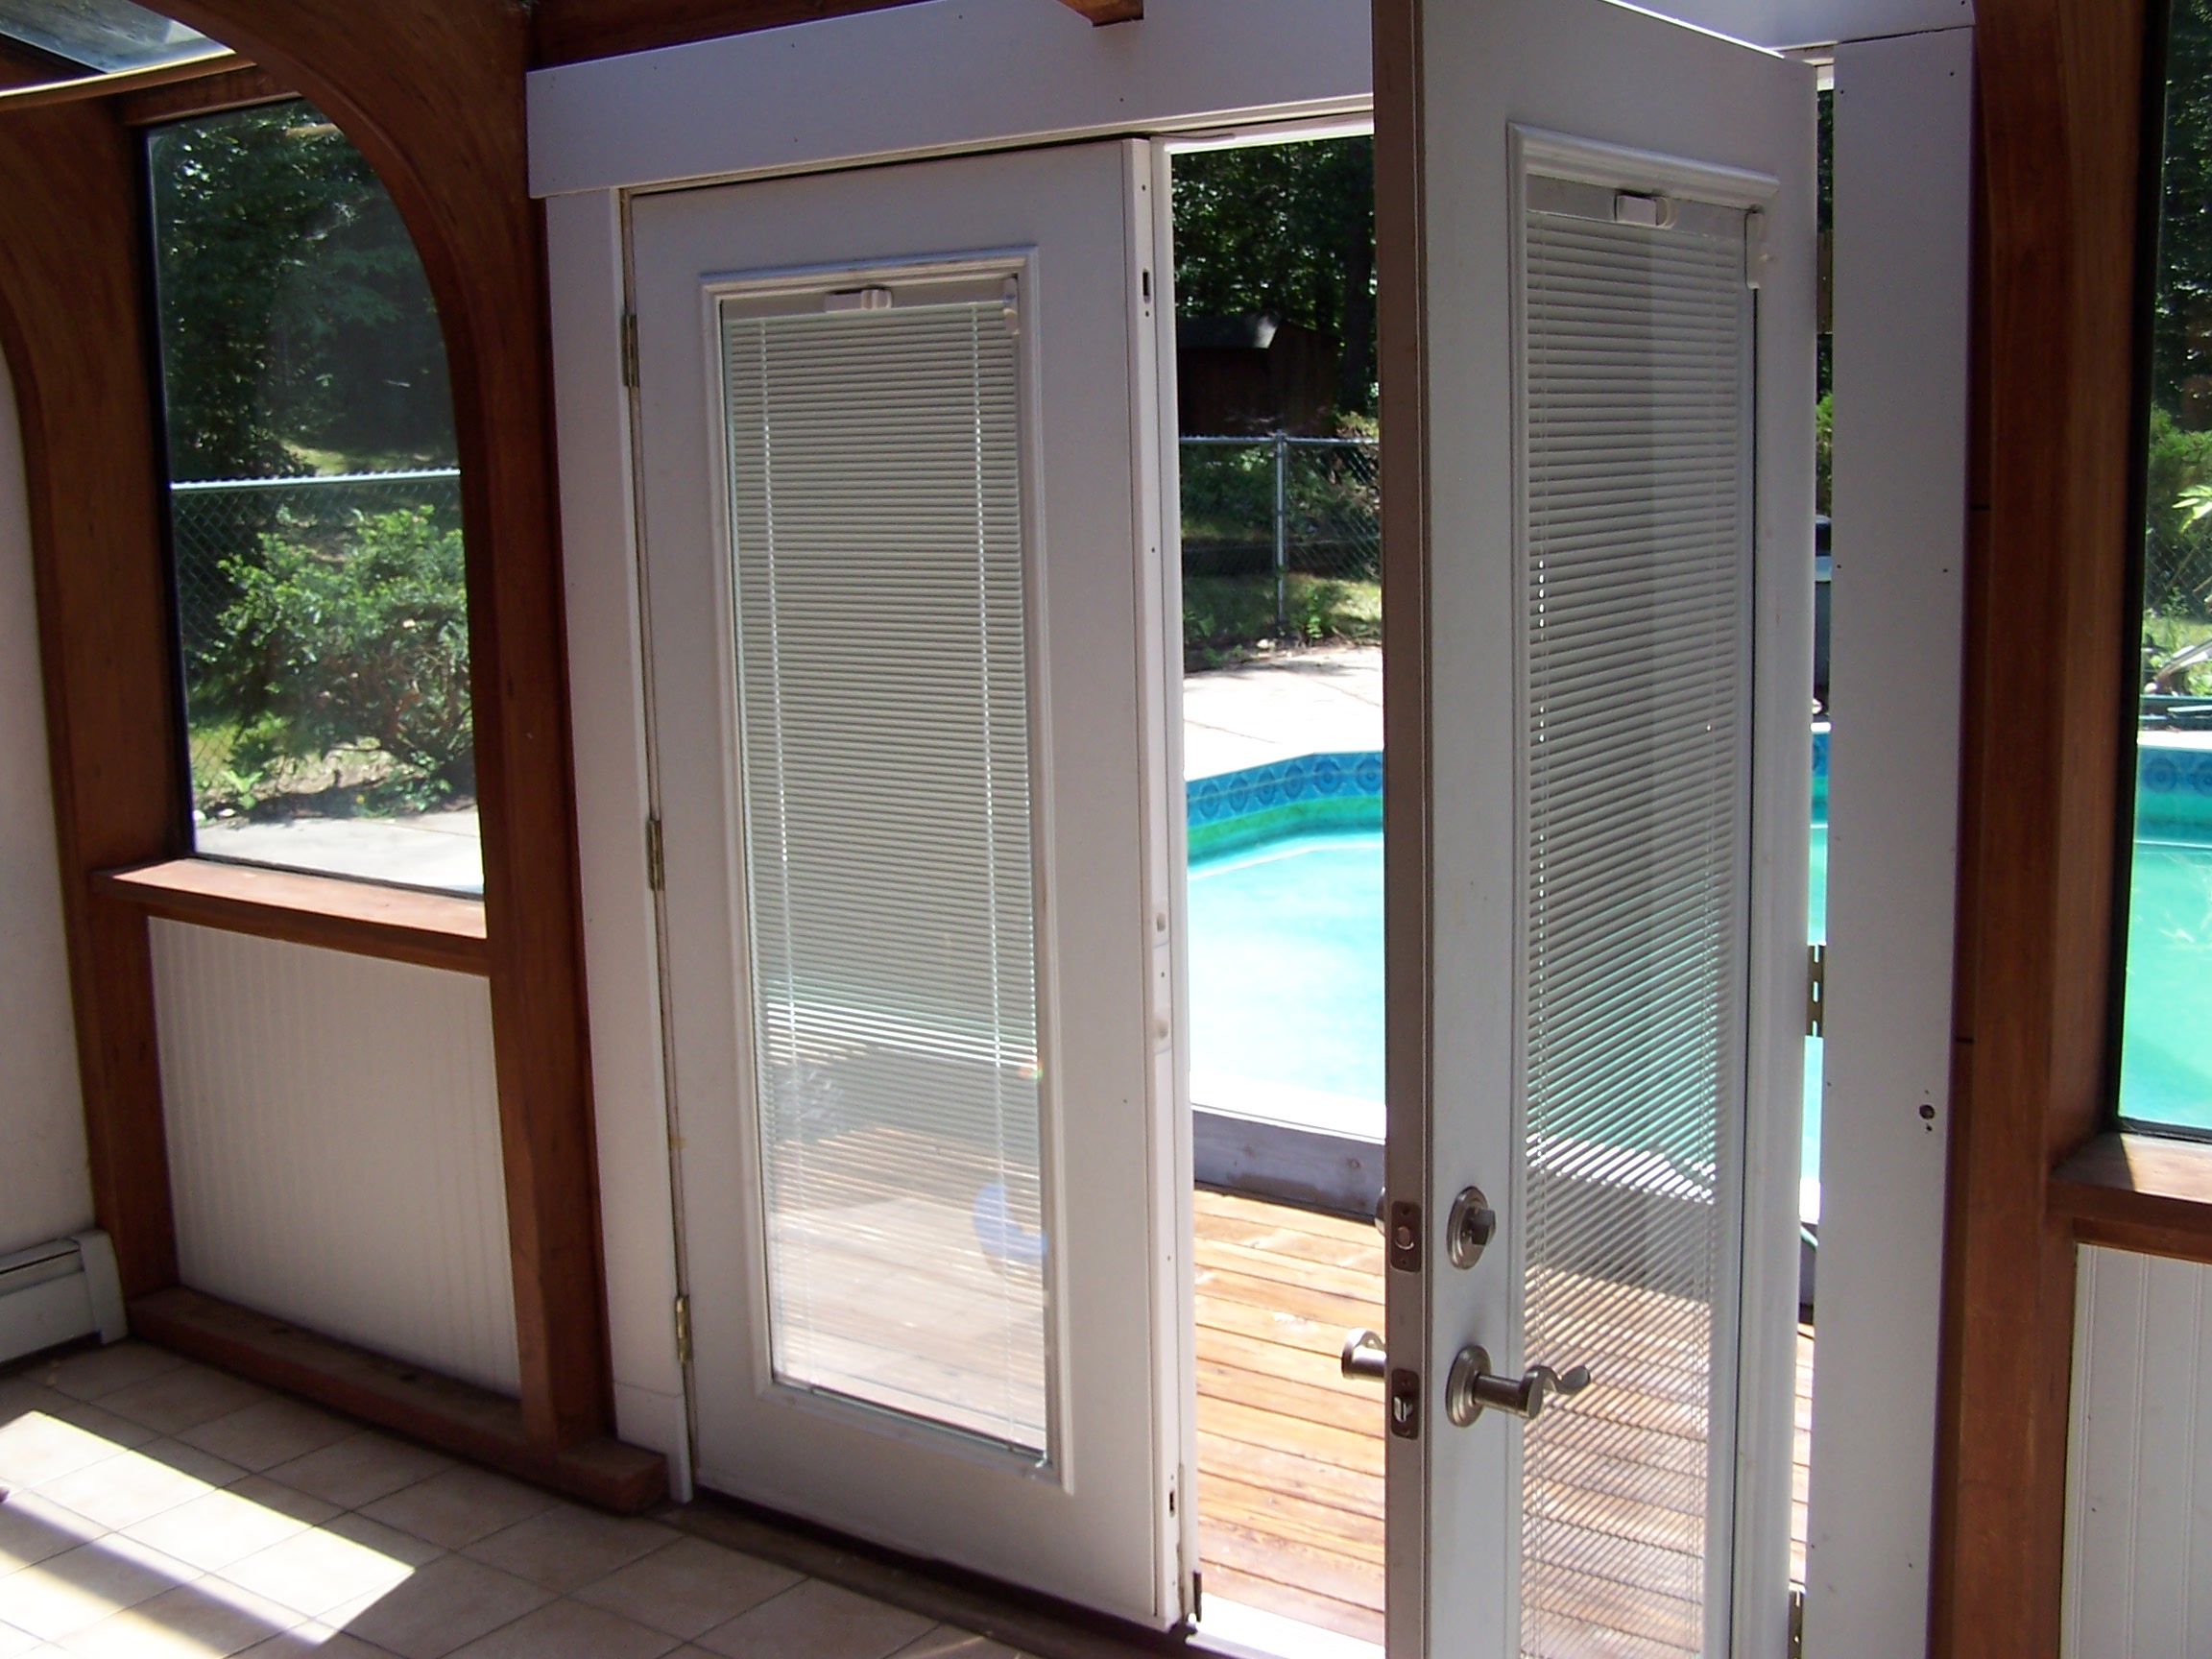 Yes! Again! People LOVE to come and see this very unique house! Log cabin on nearly five acres of land that borders Wells State Park. You have to see how nice the sun room is off the back deck in the afternoon. This home has an open floor plan and so many possibilities. The sellers are MOTIVATED and waiting for the perfect offer!
We hope to see you there!
Yes…the theme of November of storage solutions. Maybe it’s my OCD, maybe it’s the time of year. The holidays usually require more open space for things like people, trees and decorations. November is a great time to get organized before the Christmas rush.
 The swing of a standard interior hinged door eats up as much as 10 square feet of floor space. That’s not to mention the unusable wall space the door occupies when open. By gliding on a track that disappears into the wall, pocket doors reclaim that space and increase the usable square footage of your home.
Is the additional space worth it? It’s not exactly an open and shut case. For starters, unless you’re dealing with new construction, you’ll need to demolish a wall. Here’s what else you need to know before giving the sledgehammer a heave-ho.
Before demolishing the wall, investigate what you might find inside: plumbing, electrical, heating and cooling ducts. If rerouting these is an option, it will come at a price—anywhere from $300 to $800. You’ll also need to determine if the wall is load-bearing, and if the door opening needs to be reinforced with a header.
Top-quality pocket door kits feature heavy-duty, ball-bearing nylon rollers guaranteed to not jump off their tracks, and studs wrapped in metal to prevent warping. Kits are available to fit 2×4 or 2×6 wall construction. Kit cost: $150 to $350; add $350 to $550 for professional installation, depending on the complexity of the demolition work.
Make sure your door opening is square, plumb, and level. Cut corners on hardware quality or installation procedure and you’ll risk having to redo it all down the road.
Jan Soults Walker, a nationally published home improvement writer for more than 25 years, has three pocket doors in her house and wishes she had more.
Published: October 1, 2010
Want to see a pocket door in real life? Visit my open house at 298 New Boston Road on Sunday, November 14th Noon to 2pm. There is a pocket door for the bathroom and it’s fantastic! Click here for details
I really liked this article because I have limited storage space in my own house and often think about “built-ins” as a solution. Now…I need a stud finder…
 Recessed, between-the-studs shelving and storage niches help you de-clutter and stay organized without sacrificing valuable square footage.
You’ll need moderate DIY skills and a basic knowledge of framing to build your own recessed wall niche. Once you’ve located studs with a stud finder and made sure the wall cavity is void of wires, plumbing, or air ducts, frame the opening and finish it with drywall or other materials, such as beaded board, then add shelving. Cost: $17 to $35, for a 14×36-inch niche.
Various sizes of prebuilt recessed wall niches are available in wood as well as less expensive polyurethane units. These units are customized to perform a range of storage tasks, including serve as a medicine cabinet, a home bar and as a shower niche. Cost: $90 to $500.
With four home renovations to her credit, Jan Soults Walker is a devotee of improvements, products, and trends for the home and garden. For 25 years she’s written for a number of national home shelter publications, and has authored 18 books on home improvement and decorating.
By: Jan Soults Walker Published: October 1, 2010 Looking for your own DIY project home? Check out the available properties here and then give me a call. Okay, I have an ENTIRE pot of coffee in me to get ready for today’s showings and I am amped! There are only a few weekends left before the snow flies so this is the time to check-out some of the available homes for sale in your area. Yes…I know the Patriots are playing on Sunday…it’s okay…everyone has a DVR now, right?
298 New Boston Road in Sturbridge – Sunday 1pm to 2pm
 This house is truly unique. Open concept floor plan with loft area and sun room. Nearly 5 private acres abutting Wells State Park but yet minutes from the turnpike. Price reduction and rental available. Rent-to-own is also being considered. Make this home your next home and enjoy! For more pictures and information click here
26 Maple Street in Auburn – Sunday 11am to Noon
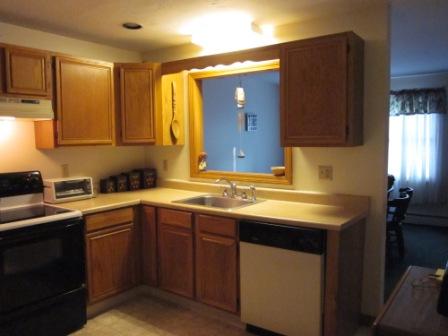 3 floors of living space with 3/4 bedrooms and 2 1/2 baths make this townhouse a steal at its current price. Close to all the major routes in Auburn (20, 12, 290, 90) but yet on a side street and private. Garage, deck, fireplace and SPACE! Low HOA fees and a motivated seller. This is a great starter home for a young family or a fantastic place for an established family with boomerang adult children. All offers considered. To see more, click here.
Not sure what you want – let me know. We can find it and you can start with a free property organizer.
There is the idea that if one person asks a question…there are several others who have the same question but didn’t ask. I believe this is true. Here are three questions that I have been asked in the past week…
1. If I want to buy a house, do I have to call each different listing agent in order to see the houses?
No, you do not. You can work with one Realtor who becomes your Buyer’s Agent who will represent you. There are several advantages to this besides not having to make all those phone calls. The very first being that the listing agent on the “For Sale” sign in front of the house you like is representing the seller. A Buyer’s Agent will represent you and work in your best interest. They can also save you time because of their access to information and experience. You can work with one Buyer’s Agent for all the houses you would like to review and they can more than likely recommend some that you didn’t know about.
2. I have heard there is a law in Massachusetts now about paint chips and private contractors. What is that?
Yes, there was a new regulation put in place by the Environmental Protection Agency concerning Renovation, Repair and Painting. You can review that regulation here at EPA’s website. They do have several ways to contact them if you have any questions.
3. How do Realtors work in the winter?
 We wear warm shoes and mittens!
I really like this article from MSN…mostly because of the name. Duct-tape is such an essential item!
 Many homeowners opt to tackle home-improvement tasks themselves to save money and to have the satisfaction of getting something done. But a DIY job gone wrong may cost far more than bringing in an expert.
By Marilyn Lewis of MSN Real Estate
When homeowners strap on a tool belt or grab that roll of duct tape, they can get into a lot of trouble. Even the simplest-seeming projects can go horribly wrong. An entire YouTube category of “DIY disasters” bears witness to the world of do-it-yourselfers in over their heads — here’s a compilation with ukulele music and a laugh track.
If you want to hear DIY horror stories, you have to ask the remodelers who rescue them, people like Fred Spaulding, owner of Quality Home Improvements in Houston. When asked about the worst DIY errors he’s seen, Spaulding tells the story of being summoned to figure out why a home’s circuit breaker kept tripping.
He tracked the problem to the attic. There, he found a ceiling fan dangling in midair, suspended from its electrical wires. The fan had been left hanging when the homeowner and his friends replaced the roof weeks before. They’d dropped it into the attic while stripping off old shingles. “This way they didn’t have to disconnect it,” Spaulding says. (Bing: How to repair a shingle roof)
They finished the roof and forgot the fan.
Meanwhile, the fan kept running, winding up the cable that held it, which wore the insulation off the wires. As the bare wires twisted and touched, they shorted, tripping the circuit breaker. Once the power shut off, the fan cord unwound, only to spool up again, wearing the insulation further, after the homeowners turned the power back on.
It’s amazing, Spaulding marvels, that the mess hadn’t sparked a fire.
Favorite shortcuts
When DIYers get stuck or are running out of time, it’s tempting to take a shortcut and face the consequences later.
“Typically, they think, ‘I’ll just knock that out in an hour,'” says Lawrence J. Heuvelman III. He owns One Home Cinema in Antioch, Ill., specializing in lighting and home theaters. He’s also president of the National Association of Remodelers.
“Then they’ve got a whole weekend into it,” Heuvelman says. “And then they take a day off work. The wife’s upset with him because he didn’t finish it on Sunday. He gets to the point where he doesn’t know what to do next and has to go ask some buddies.”
This happened to a friend of Heuvelman’s, whose rushed home repair left a gaping hole at the spot where electrical lines entered the home. She covered the hole with plastic and stuffed it with insulation, but cold air was still leaking in. So she sprayed insulating foam into the hole from outside.
“Picture this,” he says: “A 5- to 10-inch-square hole of drywall is missing around this pipe. So they just foamed the heck out of it.”
His friend called for help when a large, solid, yellow bubble of foam broke through the drywall into a finished room in her home.
It may not surprise you to learn that a lot of the worst shortcuts involve duct tape. It’s cheap, easy to use and sticks like crazy — at least at first.
Spaulding has seen duct tape used:
“I think they know these are shortcuts. But they just don’t think they’ll ever get caught,” Spaulding says of homeowners. “They think, ‘It’ll last until I leave the house.'”
The real cost
Fixing a botched DIY job can easily cost more than the hoped-for savings. Tim Sweeney, owner of Sweeney Construction Corp. in Madison, Wis., said he was helping a client repair a self-inflicted catastrophe. Remodeling an upstairs room, the homeowner hired contractors for some jobs and did some himself, including installing a supply line between a second-floor toilet and the wall.
Maybe a component was defective, or maybe the owner made a mistake. Whatever the reason, the toilet sprang a leak while the house was empty. The family arrived home after eight hours away and found the upstairs bathroom flooded. A deluge was raining onto the first floor. The downstairs laundry and kitchen were destroyed, including cabinets and floors. The repairs cost almost $100,000, only some of which was covered by insurance.
Sweeney sympathizes with the DIYer, though. He has been in trouble himself, although it was minor. Having tackled what promised to be a simple wiring job in his home’s bathroom, he finished and turned on the light — surprise! — the fan started up, too.
Sweeney is a second-generation builder, but he’s not an electrician.
“I knew enough to be dangerous,” he says, pointing out that all people, even pros, tend to be unrealistic about their skills.
Eddie Bourke, a remodeler in Anaheim, Calif., also spoke from the site of a DIY project gone south. A friend of Bourke’s had finally cried “uncle” eight months into what he thought would be a three-month project, converting a family room into an in-law suite. The project, just half-done, already was over budget, so Bourke, owner of Bourke Construction Inc., agreed to rescue his pal. His first job: getting permits.
DIYers can avoid some of their worst mistakes just by getting permits and submitting to city inspections, experts say.
Case in point: Spaulding, while working on an addition at a client’s home, discovered that the homeowner had rerouted a natural-gas line to reach his swimming pool, hot tub and barbecue. He’d not only failed to vent the pipes, but he’d also used PVC tubing because it is cheaper and easier than steel gas lines.
But chemical odorants added to natural gas for safety can dissolve the glue used to hold PVC pipes together.
“It’s a wonder he didn’t blow his house up,” Spaulding says.
The DIYer became angry when Spaulding explained he’d have to report the problems to the city.
Spaulding made yet another terrifying discovery at a different home when he opened the walls to solve a plumbing problem. He found studs that were made not from solid lumber but from patched-together construction waste. Three of the four walls supporting an addition to the home were supported by these “studs,” which had been made by nailing three or four short chunks of wood together.
“It was very clever, but there was no structural strength,” Spaulding says.
What’s worse, several of the defective studs also had 2-inch holes so the washing machine’s waste pipe could pass through on the way to a drain a couple of walls away. “I think the city’s structural inspector would have had a heart attack,” Spaulding says. “It’s amazing that in the hurricanes, the addition didn’t blow over.”
What do these and many other homemade disasters have in common? No permits.
“A lot of times, it’s families with kids and they don’t have the money to do it right now. It’s not just that they blew it off,” Heuvelman says.
But permits aren’t usually a deal-breaking expense. The point is to save you — and others — from danger and expense by preventing structural errors. Also, your insurance company might decline to pay a claim if you can’t show you had a permit.
“Here in Texas,” Spaulding says, “they’ll check the city office to see if a permit was pulled. If it wasn’t, they’re off the hook.”
Still, plenty of do-it-yourselfers skip the permits and their work turns out just fine. The trouble doesn’t start until they try to sell, says Jeff Jones, project manager at Olson & Jones Construction, in the Portland, Ore., suburbs.
He has been hired to cut open walls so city officials can inspect unpermitted improvements. The inspectors are alerted when title companies hold up a home sale after the inspection shows there were improvements and the seller can’t produce the permits.
“It can be a nightmare,” Jones says. “They’ll have you open up the walls and say, ‘We want to see the structural for the span right there.’ Or, ‘Let’s look at the plumbing, or the wiring.'” The owner may be forced to rip out or repair the work.
“I have been personally involved in the take-it-apart scenario,” Jones says.
The delays can ruin a home sale. And DIY frugality suddenly becomes the cause of a big expense.
What drives us?
Many projects have landed a DIYer in the hospital. Angie’s List founder Angie Hicks writes that her “members have shared plenty of stories with us over the years about how they staple-gunned themselves to their siding, fell off ladders or cut themselves with chain saws.”
Even so, when Angie’s List polled members online last winter, 60% of those who responded said that they were planning home improvements. Nearly a third said they were doing the work themselves. Saving money was by far their biggest motivator.
“But one in five who did it yourself ended up calling in a pro to finish the job and — in many cases — undo the damage you did (with only the best intentions, of course),” Hicks wrote.
And yet, forces besides money draw us into these jobs. There’s the fun when it’s going well and the pride you feel when it’s complete.
“There’s great satisfaction in learning how to fix things,” says Jeanne Huber, who writes about home repairs and remodeling. Her “How To” column in the Washington Post answers readers’ questions about home-care problems.
“I think one good reason to do work yourself is that you gradually learn more and more, rather than just pay more and more,” Huber says. “Also, if you install something, you know how to fix it.”
Pride, unfortunately, is also why some DIYers bite off more than they can chew. And it’s why they play down mistakes. As a young builder, Heuvelman learned not to ask, “Who installed your chair rail upside down?” Inevitably, it was the proud homeowner.
“They’ll never tell you,” Spaulding says of DIYers whose work he’s rescued. “They might have done it, (but) they’re not going to say a word.”
Looking for a home you can fix up yourself? Check out the local properties here
 For what the typical family wastes every year on air leaks–about $350–you can plug energy-robbing gaps, start saving money, and enjoy a more comfortable home.
Most recessed lights have vents that open into the attic, a direct route for heated or cooled air to escape. When you consider that many homes have 30 or 40 of these fixtures, it’s easy to see why researchers at the Pennsylvania Housing Research/Resource Center pinpointed them as a leading cause of household air leaks. Lights labeled ICAT, for “insulation contact and air tight,” are already sealed; look for the label next to the bulb. If you don’t see it, assume yours leaks. An airtight baffle ($8-$30 at the home center) is a quick fix. Remove the bulb, push the baffle up into the housing, then replace the bulb.
Most of your house probably has an inner skin of drywall or plaster between living space and unheated areas. But builders in the past often skipped this cover behind knee walls (partial-height walls where the roof angles down into the top floor), above dropped ceilings or soffits, and above angled ceilings over stairs.
Up in the attic, you may need to push insulation away to see if the stud cavities are open. If they are, seal them with unfaced fiberglass insulation ($1.30 a square foot) stuffed into plastic garbage bags; the bag is key to blocking air flow. Close large gaps with scraps of drywall or pieces of reflective foil insulation ($2 a square foot). Once you’ve covered the openings, smooth the insulation back into place. To see these repairs in action, consult Energy Star’s DIY guide to air sealing.
Building codes require that wood framing be kept at least one inch from metal flues and two inches from brick chimneys. But that creates gaps where air can flow through. Cover the gaps with aluminum flashing ($12) cut to fit and sealed into place with high-temperature silicone caulk ($20). To keep insulation away from the hot flue pipe, form a barrier by wrapping a cylinder of flashing around the flue, leaving a one-inch space in between. To maintain the spacing, cut and bend a series of inch-deep tabs in the cylinder’s top and bottom edges.
A quarter-inch gap around pull-down attic stairs or an attic hatch lets through the same amount of air as a bedroom heating duct. Seal it by caulking between the stair frame and the rough opening, or by installing foam weatherstripping around the perimeter of the hatch opening. Or you can buy a pre-insulated hatch cover kit, such as the Energy Guardian from ESS Energy Products ($150).
Once the biggest attic gaps are plugged, move on to the medium-size ones. Low-expansion polyurethane foam in a can is great for plugging openings 1/4-inch to three inches wide, such as those around plumbing pipes and vents. A standard 12-ounce can ($5) is good for 250 feet of bead about half an inch thick. The plastic straw applicator seals shut within two hours of the first use, so to get the most mileage out of a can, squirt a lubricant such as WD-40 onto a pipe cleaner and stuff that into the applicator tube between uses.
Caulk makes the best gap-filler for openings less than 1/4-inch wide, such as those cut around electrical boxes. Silicone costs the most ($8 a tube) but works better next to nonporous materials, such as metal flashing, or where there are temperature extremes, as in attics. Acrylic latex caulk ($2 a tube) is less messy to work with and cleans up with water.
Gaps low on a foundation wall matter if you’re trying to fix a wet basement, but only those above the outside soil level let air in. Seal those with the same materials you’d use in an attic: caulk for gaps up to 1/4-inch wide and spray foam for wider ones. Use high-temperature caulk around vent pipes that get hot, such as those for the furnace or water heater. Shoot foam around wider holes for wires, pipes, and ducts that pass through basement walls to the outside.
In most older houses with basements, air seeps in where the house framing sits on the foundation. Spread a bead of caulk between the foundation and the sill plate (the wood immediately above the foundation), and along the top and bottom edges of the rim joist (the piece that sits atop the sill plate).
In the main living areas of your home, the most significant drafts tend to occur around windows and doors. If you have old windows, caulking and adding new weatherstripping goes a long way toward tightening them up. Bronze weatherstripping ($12 for 17 feet) lasts for decades but is time-consuming to install, while some self-stick plastic types are easy to put on but don’t last very long. Adhesive-backed EPDM rubber ($8 for 10 feet) is a good compromise, rated to last at least 10 years. Nifty gadgets called pulley seals ($9 a pair) block air from streaming though the holes where cords disappear into the frames.
Weatherstripping also works wonders on doors. If a draft comes in at the bottom, install a new door sweep ($9).
Try to do attic work on a cool day. Wear protective gear: disposable clothes, gloves, and a double-elastic mask or half-face respirator. Bring along a droplight with a fluorescent bulb, plus at least two pieces of plywood big enough to span two or three joists to support you as you work. To save trips up and down a ladder, try to move up all of the materials you need before you get started. One warning: If you find vermiculite insulation, hold off until you’ve had it checked for asbestos; your health department or air-quality agency can recommend a lab.
Jeanne Huber writes a home-repair column for the Washington Post and has commissioned three new roofs on various houses over the years.
 While intangible benefits such as comfort and ambience may make a fireplace addition worth the cost for you, consumer attitudes toward fireplaces are changing.
Here are the facts:
When you estimate how much a fireplace might add to the value of your house, consider your home’s overall value. A $10,000 fireplace holds its value in a $1 million house because buyers expect this feature in an upscale home. But a $10,000 fireplace might not be such a crucial component of a $100,000 house, especially if features that potential buyers consider more important are lacking.
Rich Binsacca is the author of 12 books on various home-related topics and is currently a contributing editor for Builder and EcoHome magazines. He has written articles for Remodeling, Home, and Architectural Record, among several others. He intermittently uses the wood-burning fireplace and the gas-fueled freestanding stove that came with his current home.
Because I am the eternal optimist…I have to share this blog from msnrealestate. Wall Street Journal online also has a similar post. I am hoping that the second headline about the rising foreclosures only prompts more buyers into the market to take advantage of what is an amazing time to purchase a home. If you already have a home…buy a second one. Got two? Buy a third. It will be worth it! I can go over that in detail with you.
 Low home prices combined with some of the lowest mortgage interest rates ever lured more buyers back into the real-estate market in September as home resales rose 10% from the previous month, according to the National Association of Realtors.
But because September was just the second straight month of increases after existing-home sales fell to their lowest level on record in July, home sales in September were 19.1% below the sales pace set in September 2009.
However, with October’s moratorium on foreclosures slowing both home repossession and foreclosure sales across the nation, that upward trend could be short-lived.
“A housing recovery is taking place but will be choppy at times, depending on the duration and impact of a foreclosure moratorium,” said Lawrence Yun, the NAR’s chief economist.
And even though Bank of America and GMAC plan to resume processing foreclosures this week, foreclosures are unlikely to continue making such a big chunk of sales as buyers grow warier of their drawbacks.
Even Federal Reserve Chairman Ben Bernanke’s announcement that a federal review of the nation’s biggest foreclosure lenders will be released next month is likely to have a chilling effect on buyers. Why buy now when you can wait for the results? And even then, the waiting game is likely to continue as the industry tries to figure out what it all means.
Home sales in September reached a seasonally adjusted annual rate of 4.53 million, compared with a downwardly revised 4.12 million in August and 5.60 million in September 2009.
Meanwhile, the number of homes for sale at the end of September declined 1.9% to 4.04 million units. At the current sales pace, it would take 10.7 months to sell all of those homes, which although still high is an improvement from a 12-month supply in August. A six-month supply is considered normal.
But a large number of homes for sale isn’t such a bad thing for homebuyers, who benefit from not only a bigger selection, but also from having the upper hand at the negotiation table. In September, the median price paid for an existing home was $171,700, which is 2.4% below a year ago.
Existing-home sales made their biggest monthly gain in the Midwest with a 14.5% jump in September, but also took the hardest annual hit, with a decrease of 26.4% from a year ago. The median price was down 5.2% from September 2009, to $139,700.
In the South, existing-home sales rose 10.6% in September but were down 14.9% from September 2009; the median price was down 2.6% from a year ago, to $149,500. Home sales rose 10.1% in the Northeast but were down 20.8% year over year, with a median price of $239,200, down 1.4% from September 2009.
And in the West, existing-home sales rose 5% in September but were 16.7% below year-ago levels; the median price was $213,600, a decrease of 4.9% from September 2009.
Would you buy a foreclosure — or any home — right now? Check them out here
 HouseLogic (www.houselogic.com) is a great free resource site that is everything about owning a home…I mean everything! You can research home improvement projects, track your progress, find local sales on materials and earn Facebook badges. They also promote community awareness and involvement.

